Creating a Simple Webapp Ft. Flask
This blog post was created for my PIC16B class at UCLA (Previously titled: Blog Post 3 - Creating a Simple Webapp Ft. Flask).
In this blog post, I will outline how to create a simple message bank webapp that allows users to submit and view messages using Flask!
A web application, or webapp for short, is an application software that can run on a web server, not to be confused with computer programs that can be run locally on your device. These webapps can be accessed using a web browser and often perform specific functions or tasks over the internet.
The webapp we will build should allow users to not only submit messages to the message bank, but also allow users to view a sample of the messages currently stored in the message bank! To do so, we will need to use a database to store and display messages that are submitted in the webapp. Other examples of webapps that might use databases include discussion forums or registeration websites! These examples are perhaps a little more complex than our simple message bank, but the underlying function is the same.
In addition to this super interesting functionality of our webapp, we will be using Cascading Style Sheets (CSS) to make our webapp more appealing to users!
Part 1: Enabling Submissions
The first step in creating our simple webapp is to create an app.py file in which we will import the Flask package, i.e., the micro web framework written in Python. Within this app.py file we will create an instance of the Flask class with the name of the webapp’s module or package as an argument (as shown in the following lines of code). Note that we need this __name__ argument so that Flask knows where to look for our template and static files.
from flask import Flask
app = Flask(__name__)
One we have written the above lines of code, we will then go on to create a submit template with three user interfaces: (1) A text box for submitting messages, (2) A text box for submitting user names or handles, and (3) A submit button! Our submit template is really a submit.html file that will define the layout and content of our submit page.
For simplicity, it is easier to create a base template, which defines the general layout of a page, and then have submit.html extend base.html. First we will create a new folder in the same directory as our app.py file and call it templates. Within this folder we will create a new file, base.html. Our boilerplate code for base.html is displayed below:
<!doctype html>

<!-- This appears at the top of the browser window -->
<title>Blog Post 3</title>
<nav>
  <!-- Web page heading -->
  <h1>A Simple Message Bank</h1>
</nav>
<section class="content">
  <header>
    {% block header %}{% endblock %}
  </header>
  {% block content %}
    <br>
  {% endblock %}
</section>
Now, we will navigate back to our app.py file and add a route decorator that tells Flask the url we want for navigating to our main page. Note that the template for our main page is stored in the base template (i.e., base.html). So, we will have to update the app.py file as follows:
from flask import Flask, render_template
# creating an instance of the Flask class
app = Flask(__name__)

@app.route("/")
def main():
    return render_template("base.html")
Note that we have imported a new function, the render_template function. This function tells Flask to search within the templates folder and generate output from the base.html template file stored there.
Even though our webapp is far from complete, it is always good practice to periodically make sure our webapp is working (this is an iterative process)! So, let’s go ahead and run flask by executing the following commands in our terminal or command prompt (Remember to activate the appropriate conda environment and navigate to the directory in which you have stored your app.py file).
export FLASK_ENV=development
flask run
Your webapp should currently look something like this:
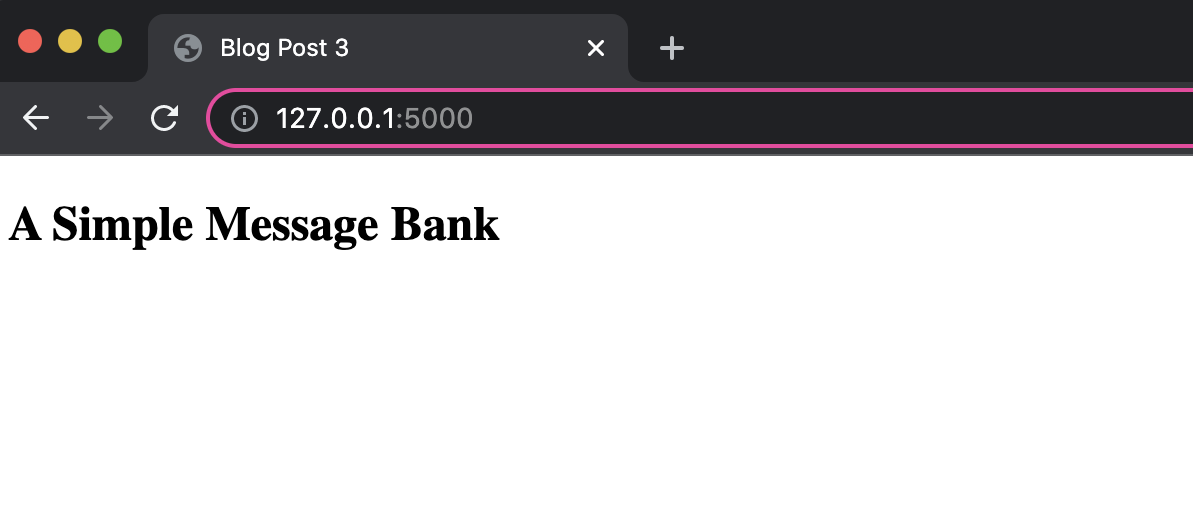
As we can see from the above image of our main page, this creates a very simple page with only our title “A Simple Message Bank”. We will now iteratively add more functionalities to our webapp and keep checking our page on the browser to ensure everything is in order!
Let’s add a couple more details to our base.html file. Suppose we want users to know what the webapp is for. We can do so by adding a small paragraph tag to our boilerplate code explaining what our webapp is supposed to do!
<!doctype html>

<title>Blog Post 3</title>
<nav>
  <h1>A Simple Message Bank</h1>
</nav>
<section class="content">
  <header>
    {% block header %}{% endblock %}
  </header>
  {% block content %}
    <br>
    <!-- Add the following paragraph tag explaining what our webapp does  -->
    <p> Welcome to this simple message bank! Feel free to submit a message and view messages within the bank!</p>
  {% endblock %}
</section>
Our main page now looks like this:
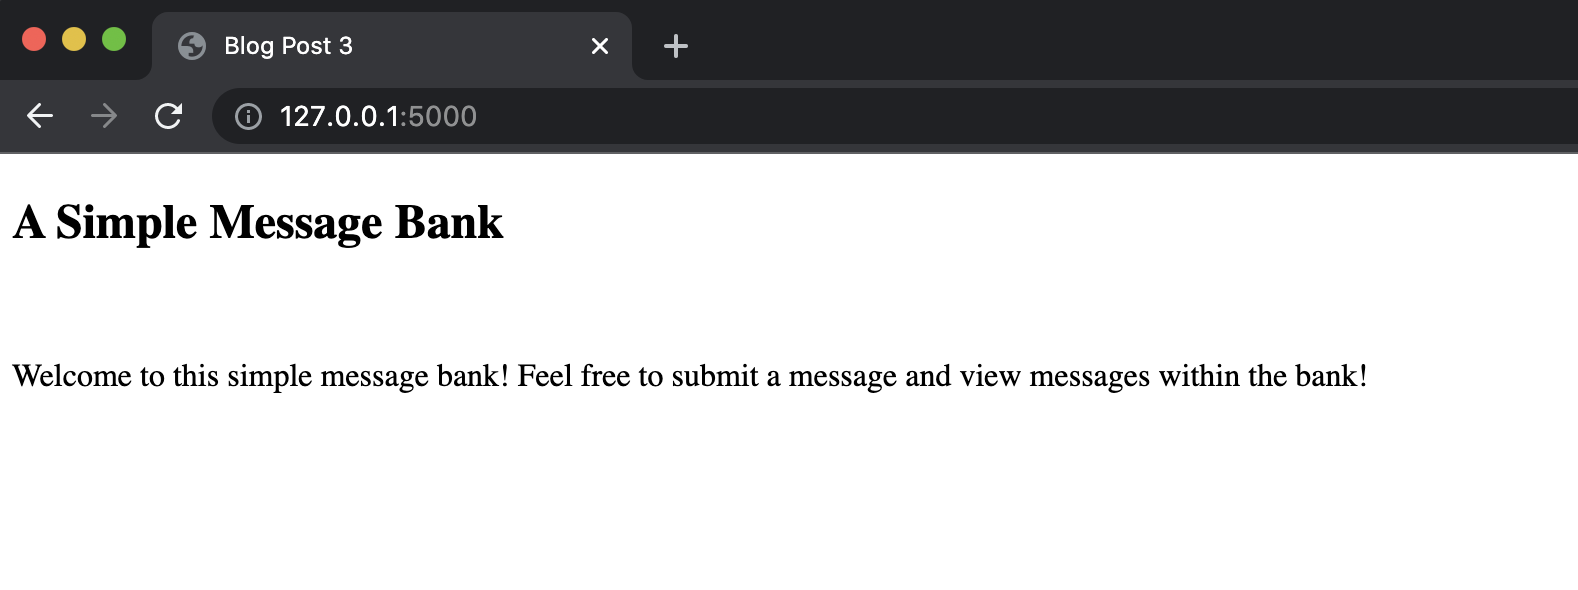
So, now that we have our base template and app.py files set up, we can finally create our submit template (i.e., submit.html) within our templates folder. Recall that we need to create our submit template such that it has three user interfaces:
- A text box for submitting a message.
- A text box for submitting the name or handle of the user.
- A submit button.
To do so, we will have submit.html extend base.html using jinja tags (jinja tags have the following syntax: ` {% %} `).
<!--The Submit Message Page Extended from base.html-->

{% extends 'base.html' %}

{% block header %}
  <h1>{% block title %}Submit{% endblock %}</h1>
{% endblock %}

{% block content %}
    <!-- Creating the three user interfaces within a form tag -->
    <br>
    <form method="post">
      <!-- Creating a text box for submitting a message -->
      <label for="message">Your message:</label>
      <input type="text" name="message" id="message">
      <br>
      <!-- Creating a text box for submitting name or handle -->
      <label for="handle">Your name or handle:</label>
      <input type="text" name="handle" id="handle">
      <br>
      <!-- Creating a submit button -->
      <input type="submit" value="Submit message">
    </form>
{% endblock %}
Suppose after a user submits a message, we would like our webapp to return a thank you message. Let’s go ahead and add that to our submit template (after the form tag)!
{% if thanks %}
  <b>Thank you for submitting a message!</b>
{% endif %}
Now that our submit template is complete, let’s go ahead and update our app.py and base.html files. For app.py, we now need to add another route decorator that tells Flask to render the submit template when navigating to the /submit/ url. So, we add the following lines of code to our app.py file!
@app.route("/submit/", methods=['POST', 'GET'])
def submit():
    if request.method == "GET":
        return render_template("submit.html")
    else:
        return render_template("submit.html", thanks=True)
Notice in the above block of code, we have defined two methods POST and GET. These methods are used for sending data to and from a web server. The GET method is usually the most common method and is used to retrieve data from a specified web server. The POST method is used to send data to a web server.
In this case, the GET method retrieves information from the web server and renders the submit template. The POST method, on the other hand, currently renders the submit template after having received information from the user without performing any other task. Additionally, the thanks variable (which we had used earlier in our submit template) is set to True so that our webapp will return a thanks statement to the user after they submit a message.
Now that we’ve updated our app.py file, we can update our base template! We need to add in a link that allows users to navigate to our submit page, so we simply add in the following line of code:
<!doctype html>

<title>Blog Post 3</title>
<nav>
  <h1>A Simple Message Bank</h1>
  <ul>
    <!-- Adds link to submit page on main page -->
    <li><a href="{{ url_for('submit') }}">Submit a Message</a></li>
  </ul>
</nav>
<section class="content">
  <header>
    {% block header %}{% endblock %}
  </header>
  {% block content %}
    <br>
    <p> Welcome to this simple message bank! Feel free to submit a message and view messages within the bank!</p>
  {% endblock %}
</section>
Once again, it’s good practice to check our web browser to make sure our webapp looks alright. Let’s go ahead and run it!
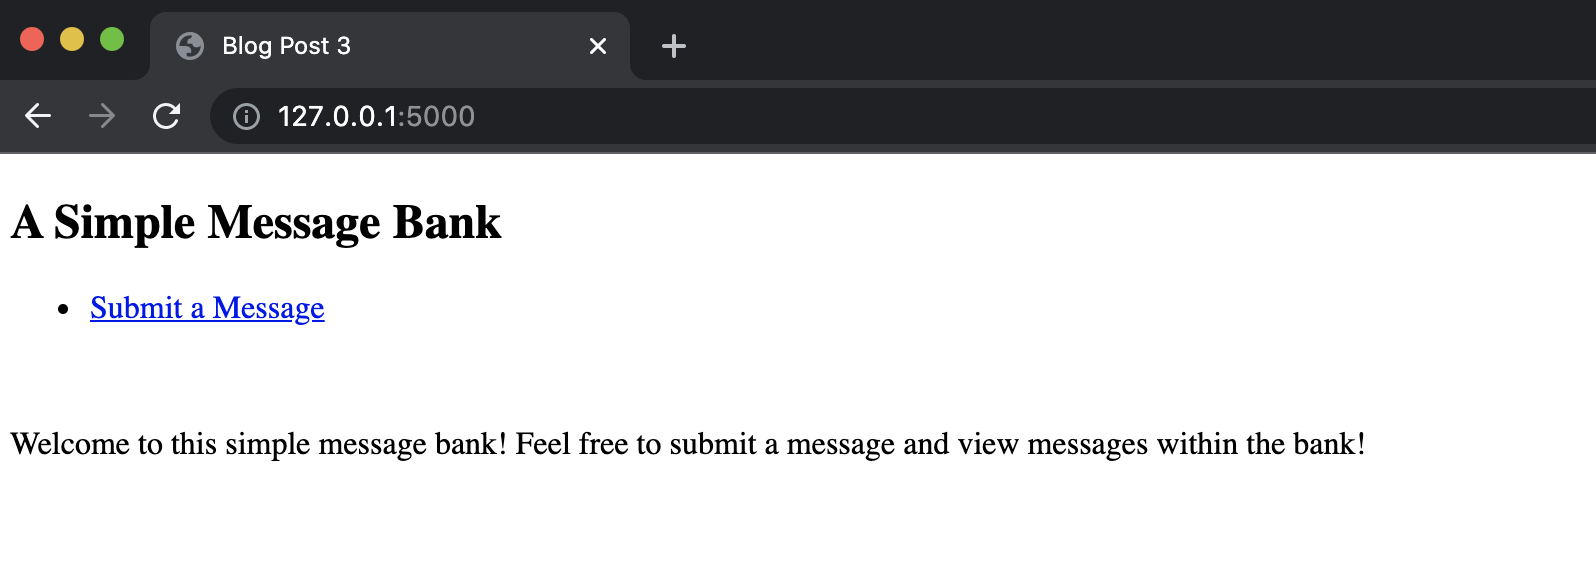
When we click on our “Submit a Message” button, we should get a submit page that looks something like this. Let’s type in a message as well!

Once we hit our submit button, we also need to make sure that our webapp returns a thank you message!
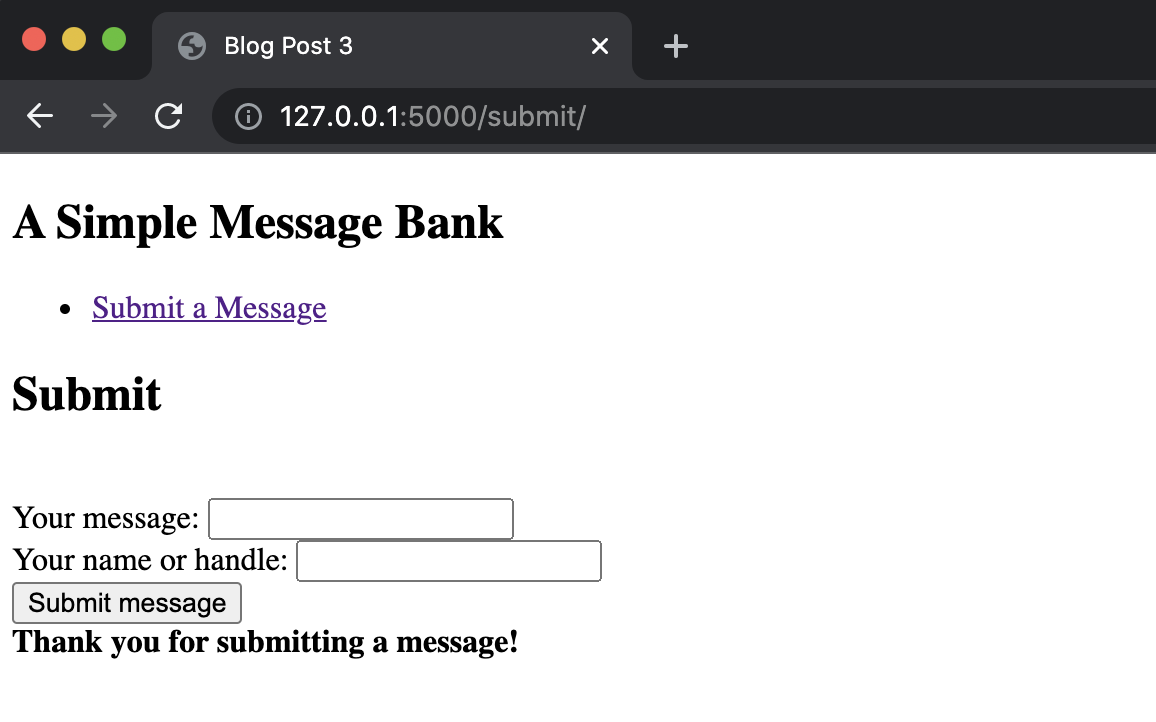
Now that we have our basic webapp with a basic main page and submit page up and running, let’s go ahead and add further functionality to our webapp! We will be writing two Python functions within our app.py file to create the database of messages (that will store all user messages) and insert new user mesasges into the same database.
Before we write our functions, let’s update our import statements in our app.py file. We will need to import sqlite3 which will allow us to access databases. We also need to import a new g attribute, current_app, and request from flask.
from flask import Flask, current_app, g, render_template, request
import sqlite3

# creating the app
app = Flask(__name__)
Our first function get_message_db() creates a database of messages.
def get_message_db():
    """
    Function handles creating the database of messages
    """
    # Checks whether there exists a "message_db" database in g
    if 'message_db' not in g:
        g.message_db = sqlite3.connect('messages_db.sqlite')

    # Check whether the messages table exists
    # Use command CREATE TABLE IF NOT EXISTS in
    # the init.sql file
    with current_app.open_resource('init.sql') as f:
        g.message_db.executescript(f.read().decode('utf8'))

    # Return the connection
    return g.message_db
The comments within the above code block explain how this function works - we first check whether a database of messages exists in the g attribute of the app, we then check whether a table called messages exists within message_db and create one if its not there, and finally we return the connection g.message_db.
Notice that while we are checking whether the messages table exists we are importing a .sql file that is stored in the same directory as our app.py file. This file defines the format of the table and allows for better organization within our code. We use the SQL command CREATE TABLE IF NOT EXISTS and give the table an id column, a handle column, and a message column. To ensure that the ID number of each table row is unique we use the AUTOINCREMENT field that generates a unique number automatically when a new entry (i.e., in our case a new user handle and message) is inserted into the table. Our SQL file has the following lines of code:
CREATE TABLE IF NOT EXISTS messages (
  id INTEGER PRIMARY KEY AUTOINCREMENT,
  handle TEXT NOT NULL,
  message TEXT NOT NULL
);
Our second function insert_message(request) inserts a user message into the created database of messages.
def insert_message(request):
    """
    Function handles inserting user mesasges to the
    database of messages
    """
    # Create and connect to the message_db database
    # using our newly defined get_message_db() function
    db = get_message_db()
    # Extract message and handle from the request
    message = request.form['message']
    handle = request.form['handle']

    db.execute(
                'INSERT INTO messages (handle, message) VALUES (?, ?)',
                (handle, message)
            )
    db.commit()
    # Close the connection!
    db = g.pop('message_db', None)
    if db is not None:
        db.close()
As the comments in the above block of code suggest, the function extracts the message and user handle from request, inserts the handle and message into the database, and finally closes the connection to the database.
Remember to ensure that your submit template creates these fields from user input by correctly specifying the name of the input elements. For instance, in my submit template, I used the input tag <input type="text" name="message" id="message"> to ensure that message = request.form["message"] did infact contain the message submitted by the user into the webapp.
Also remember that when you are working with SQL commands, you need to run db.commit() after inserting a new row (i.e., user handle and message) into the database to ensure that the new entry is saved.
Now that we have written our two functions, we can update our app.py file! Recall that our submit page transmits and receives data and we have already made sure that it supports both POST and GET methods. We can leave the GET case as is and just render the submit.html template. For our POST case, we currently have it rendering the submit.html template while adding a small note thanking the user for their message submission. However, now that we have finished writing our insert_message(request) function, we can call that function in our POST method, thus allowing our webapp to transmit information to the web server and append messages to a database. We update our app.py file as follows:
@app.route("/submit/", methods=['POST', 'GET'])
def submit():
    if request.method == "GET":
        return render_template("submit.html")
    else:
        # Call the insert_message function to insert newly submitted messages
        # to the message_db database
        insert_message(request)
        return render_template("submit.html", thanks=True)
Part 2: Viewing Random Submissions
In addition to submitting messages to our database, we want users to be able to view a random sample of messages within our database! How do we do this? The first step is to retrieve a specific number of random messages from our database. Let’s write a function within our app.py file, call it random_messages(n), that returns a collection of n random messages from the database.
def random_messages(n):
    """
    Function returns a collection of n random messages
    from the 'message_db' database
    """
    # First we need to connect to the message_db
    # database
    db = get_message_db()
    # extracting random messages and handles from messages table
    rand_messages = db.execute(f'SELECT handle, message FROM messages ORDER BY RANDOM() LIMIT {n}').fetchall()
    # Close the connection to database!
    db = g.pop('message_db', None)
    if db is not None:
        db.close()
    # returning our sample of random mesages!
    return rand_messages
Our function, shown above, connects to our database with the get_message_db function we defined earlier, selects n random handle and message pairs from our database using the f'SELECT handle, message FROM messages ORDER BY RANDOM() LIMIT {n}' SQL command, closes the connection to the database, and finally returns the sample of n random messages and handles.
That being done, we can write our view template to display the random sample of messages we have extracted! As we did with our submit template, we will have view.html extend base.html.
<!--The View Messages Page Extended from base.html-->

{% extends 'base.html' %}

{% block header %}
  <!-- Title of our view messages page -->
  <h1>{% block title %}Some Cool Messages{% endblock %}</h1>
{% endblock %}

{% block content %}

{% endblock %}
Now that we have our basic view template defined, we need to make updates to our base template and our app.py file! We will need to add a link to our view page in our base template; so, let’s go ahead and do that.
<!doctype html>

<title>Blog Post 3</title>
<nav>
  <h1>A Simple Message Bank</h1>
  <ul>
    <!-- Adds link to submit page on main page -->
    <li><a href="{{ url_for('submit') }}">Submit a Message</a></li>
    <!-- Adds link to view page on main page -->
    <li><a href="{{ url_for('view') }}">View Messages</a></li>
  </ul>
</nav>
<section class="content">
  <header>
    {% block header %}{% endblock %}
  </header>
  {% block content %}
    <br>
    <p> Welcome to this simple message bank! Feel free to submit a message and view messages within the bank!</p>
  {% endblock %}
</section>
We will also need to add another route decorator that tells Flask to render the view template when navigating to the /view/ url. In other words, we will need to add the following code block to our app.py file.
@app.route("/view/")
def view():
    return render_template("view.html")
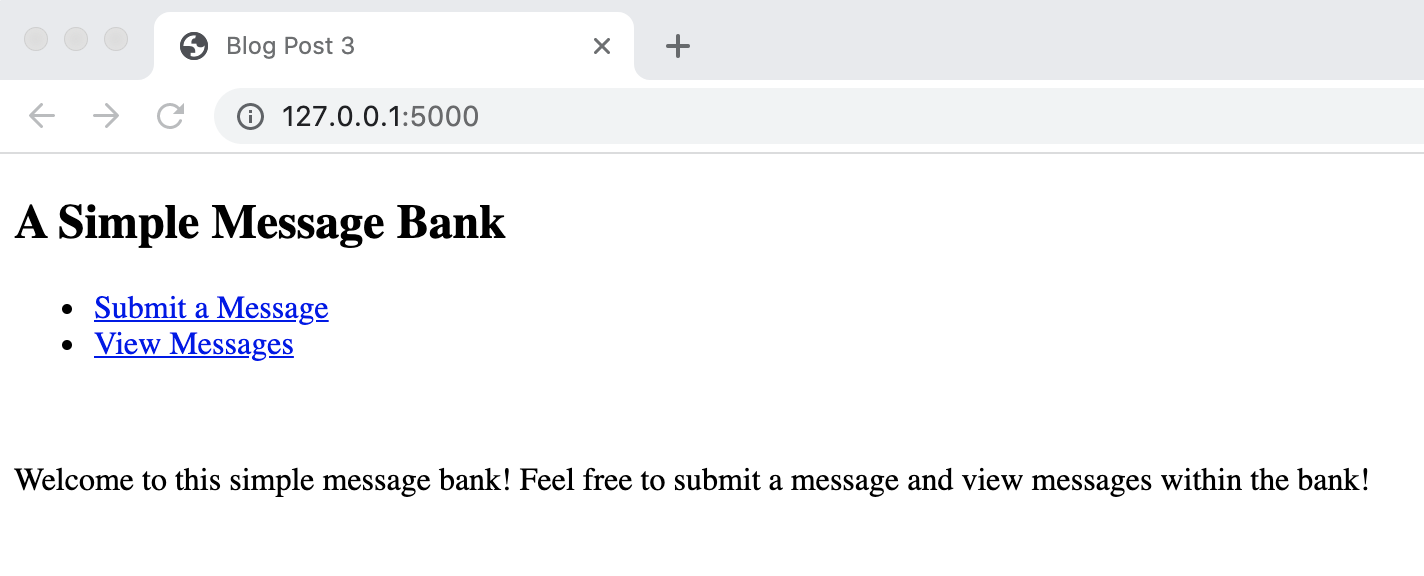
Now, let’s take a peak at our main page and view page! Our main page should now look something like this:
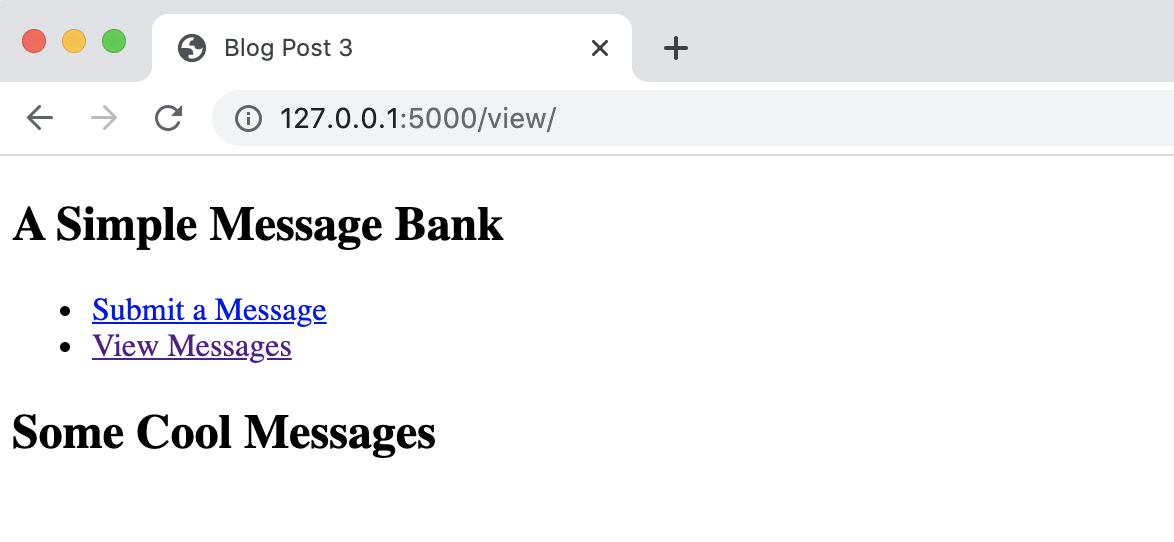
Our very basic view page, should look something like this:
Now, we need to find a way to display the messages we’ve extracted from our database using the random_messages function. We note that jinja tags supports looping and indexing of objects. So, the main idea is to loop over all the returned elements from our random_messages function and display each of the messages and handles.
We also need to note that our random_messages function returns a tuple (handle, message). So if m is the tuple, then m[0] will contain the user handle while m[1] will contain the corresponding user message.
Now, we are ready to accordingly update our view.html template.
<!--The View Messages Page Extended from base.html-->
{% extends 'base.html' %}

{% block header %}
  <h1>{% block title %}Some Cool Messages{% endblock %}</h1>
{% endblock %}

{% block content %}
    <!-- Looping over random (handle, message) pairs and displaying them -->
    {% for m in rand_messages %}
      <br>
      <!-- Displaying the message -->
      <b>{{m[1]}}</b>
      <!-- Displaying the handle -->
      <p> ~ {{m[0]}}</p>
    {%  endfor %}
{% endblock %}
Now that we have updated our view.html template, we will need to update our app.py file and define our rand_messages variable. Say we want to display three random messages from our message bank - we will extract three (handle, message) pairs using our random_messages function and assign that to our rand_messages variable!
@app.route("/view/")
def view():
    # Update render_template by defining the rand_messages variable
    return render_template("view.html", rand_messages = random_messages(3))
To make sure our view page works correctly, I’ve added in a bunch of random messages to the database using the submit page. So let’s go ahead and check our view page!
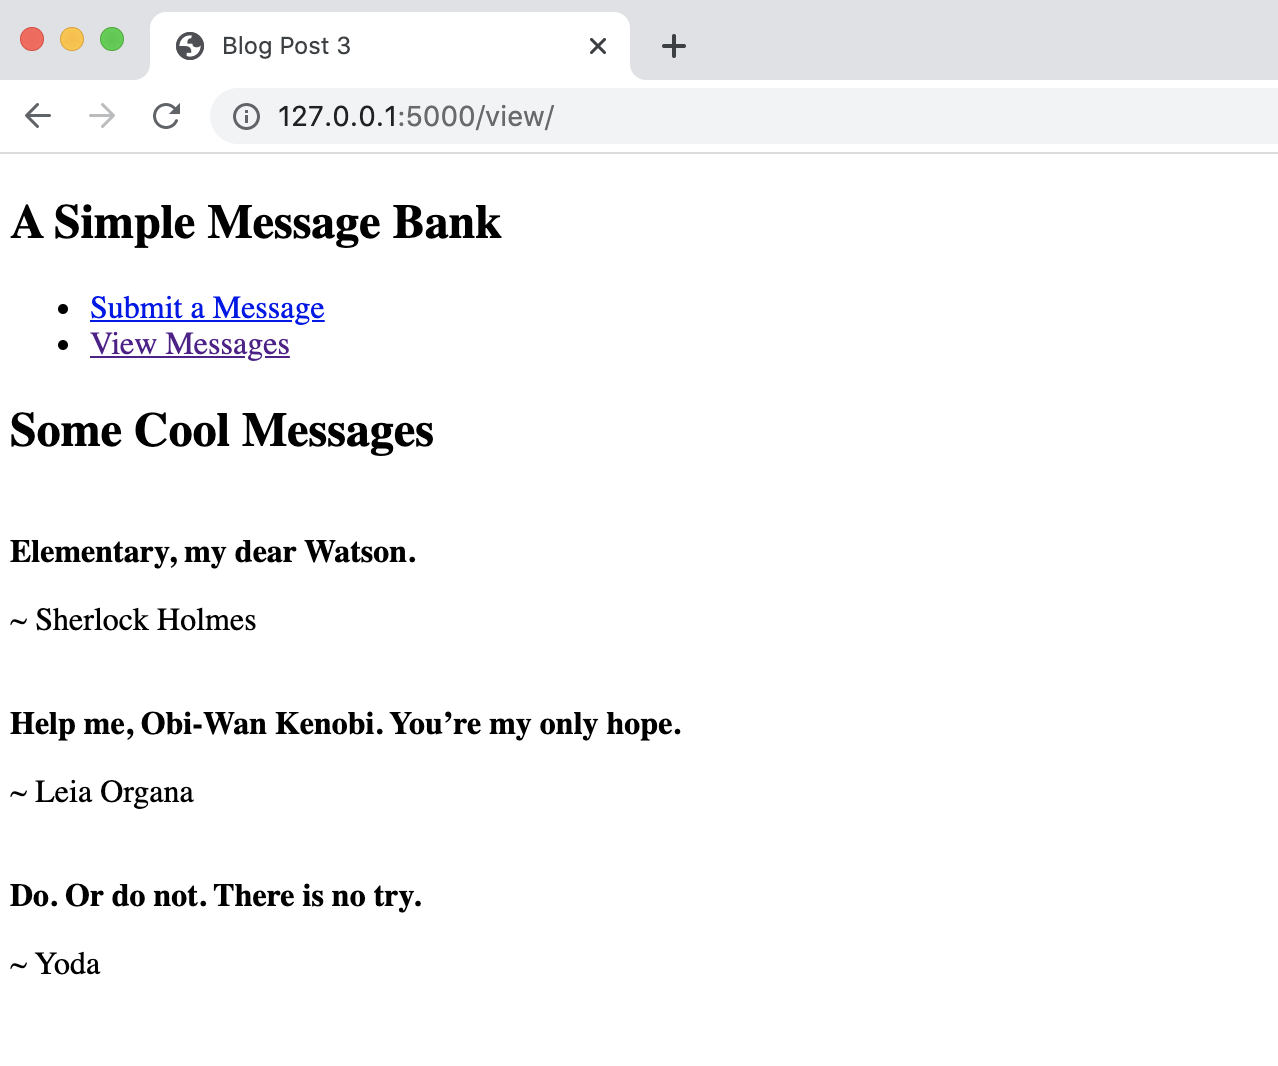
Our webapp finally works as it is supposed to! Hooray!!!
Part 3: Customizing Our App
Now, we will Write some CSS to customize our webapp! Personally, I would like for some of the features on our webapp (like headers, background color, etc.), to be uniform. In order to do that, we will need to create a new folder static in the same directory as our app.py file and our templates folder. Within our static folder, we will create our .css file (I’ve called mine my_style.css).
For those of you who are unfamiliar with Cascading Style Sheets (CSS), it is a style sheet language used for defining how HTML should be displayed. So, suppose I would like the background color of my message bank to be a dark purple shade - I would add the following chunk of code to my .css file.
html {
    background: rgb(37, 1, 37);
}
Say I would also like for all <html> elements on screen to have the serif font and include padding to create space around element’s content. Then,
html {
    font-family: serif;
    background: rgb(37, 1, 37);
    padding: 1rem;
}
Similarly, I can define the format and presentation for all <p> elements, <h1> elements, and many more. To ensure that these stylistic choices are implemented, we will need to add the following line of code to our base template. This should link our .css file to our .html files (I’ve positioned this right underneath the <title> tag).
<link rel="stylesheet" href="../static/my_style.css">
It is also possible to use inline CSS within the template files itself! Notice that in the above image of our view page, our user handles are the same size as our messages. I would like to make them a little smaller and also have them positioned closer to their respective messages. Hence, I could add in the following inline CSS to our view template.
<!--The View Messages Page Extended from base.html-->
{% extends 'base.html' %}

{% block header %}
  <h1>{% block title %}Some Cool Messages{% endblock %}</h1>
{% endblock %}

{% block content %}
    {% for m in rand_messages %}
      <br>
      <b>{{m[1]}}</b>
      <!-- Adding inline CSS -->
      <p style="font-style: italic; font-size: small; margin-top: 0%;"> ~ {{m[0]}}</p>
    {%  endfor %}
{% endblock %}
Though it is possible to use inline CSS, this is not usually advisable since they do not seperate content from design - it can make your HTML code a little messy!
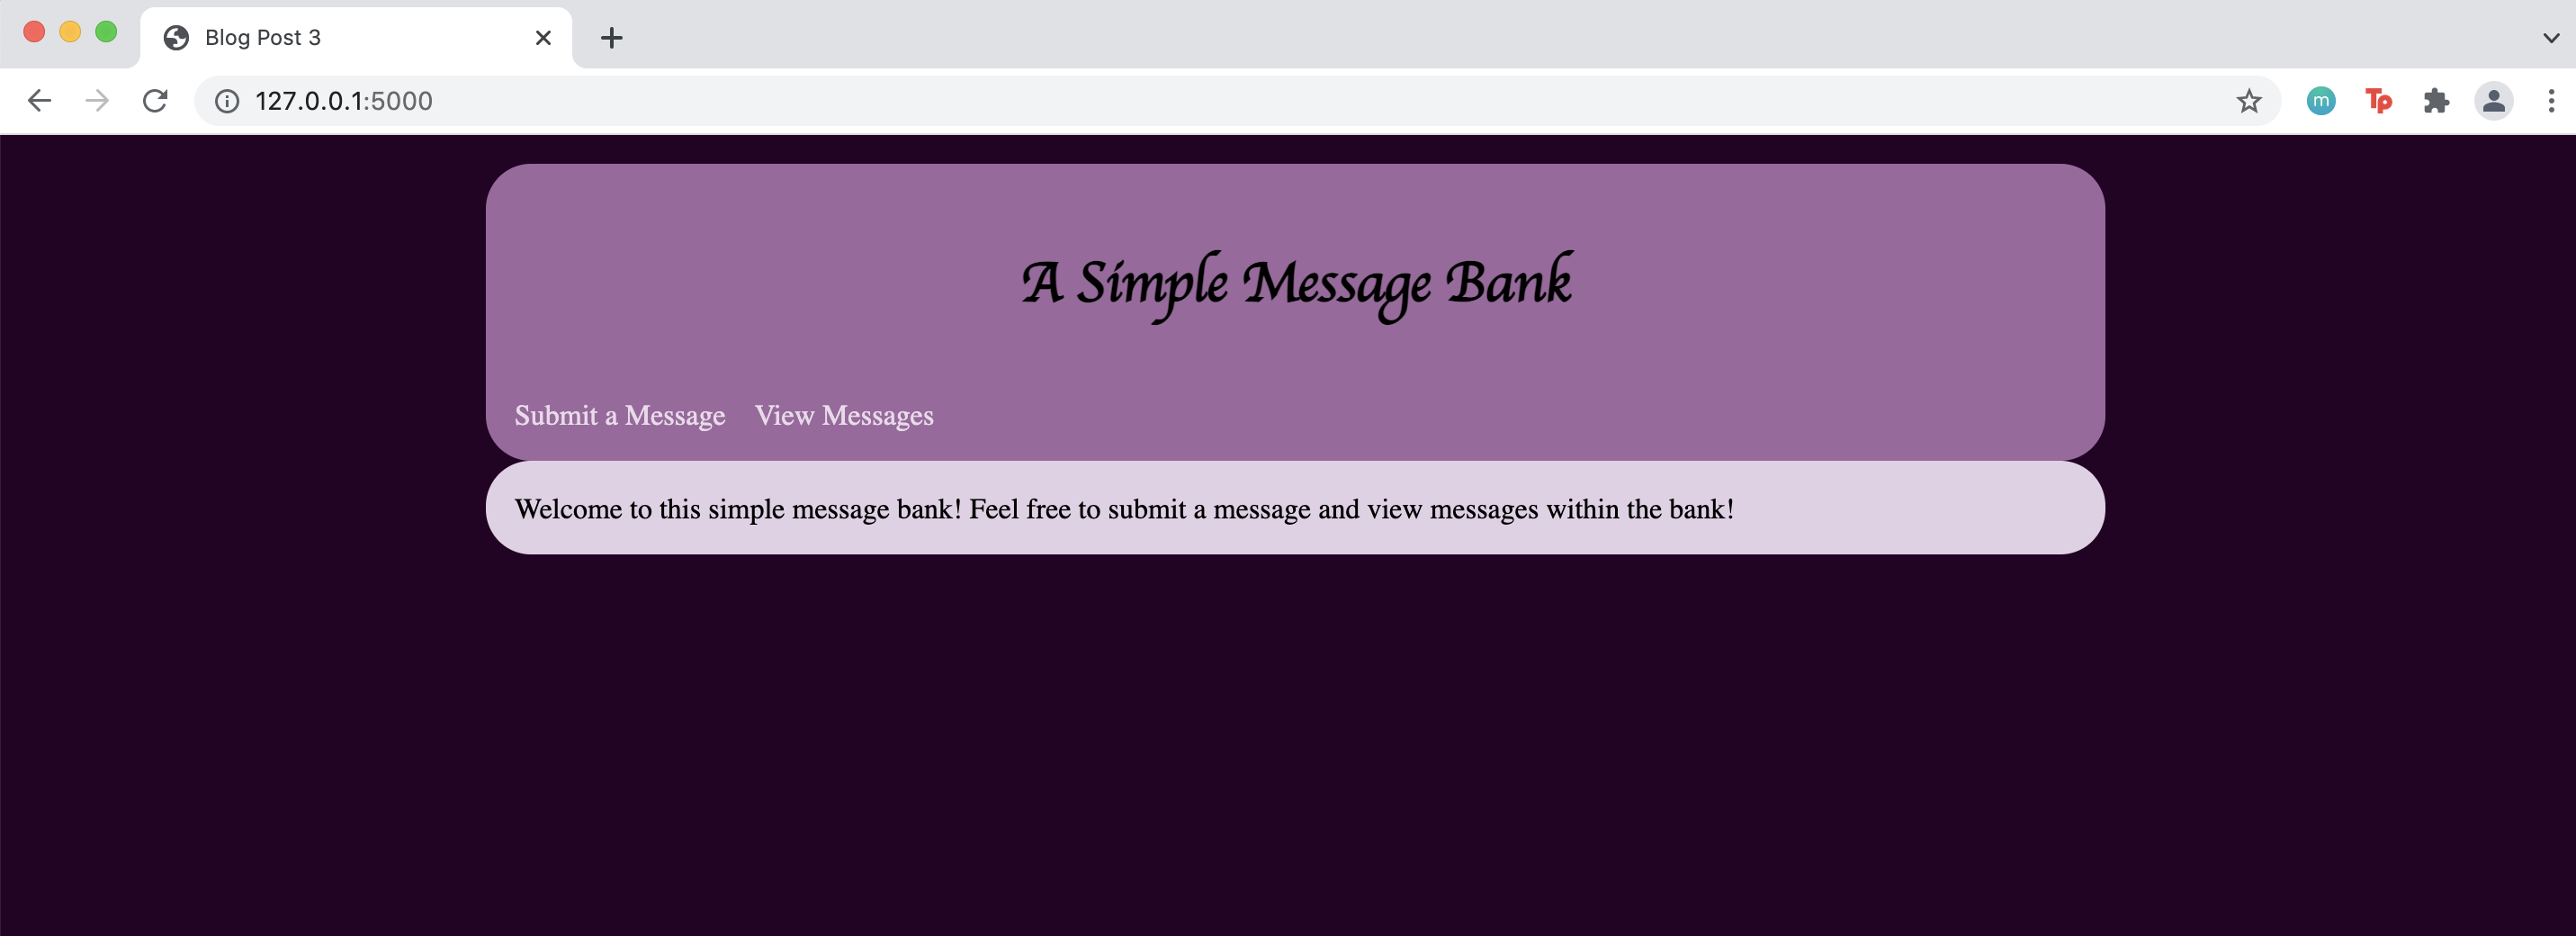
At long last, let’s take a look at our customized webapp! My customized main page looks like this (yours might look different depending on the stylistic choices you made):
My submit page looks like this! Note that I’ve typed in my own personal message and submitted it to the message bank!
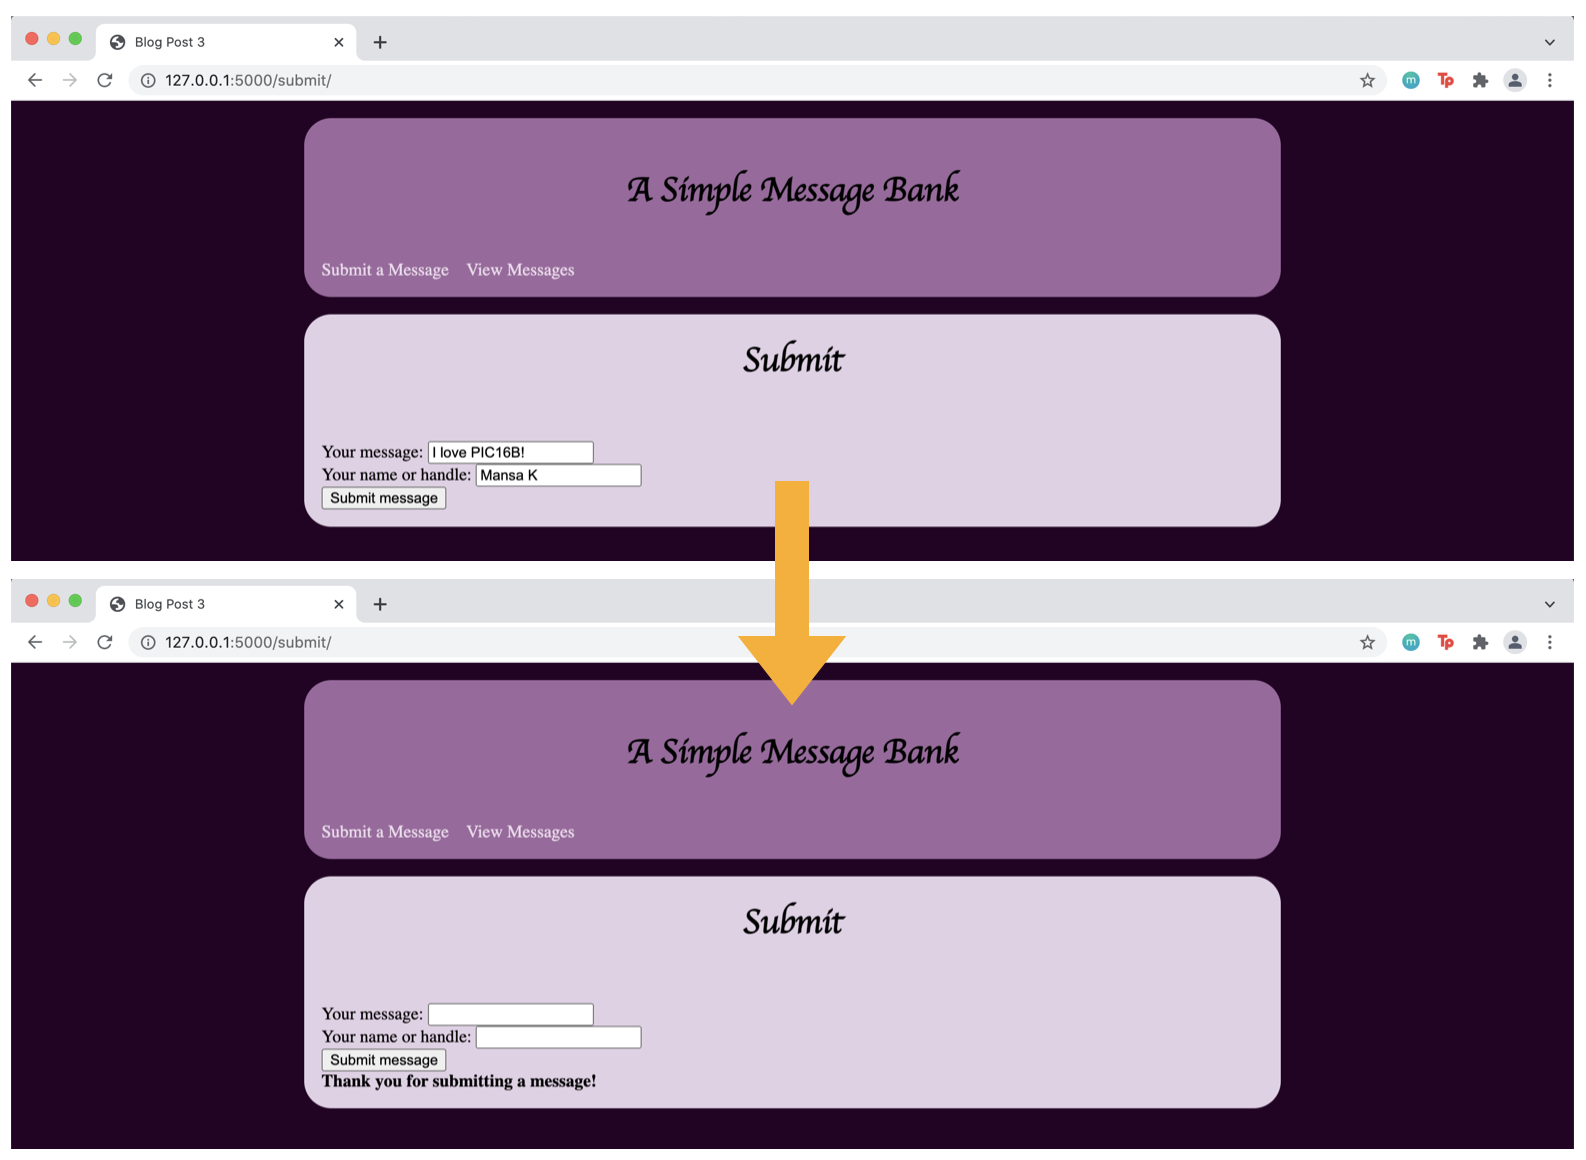
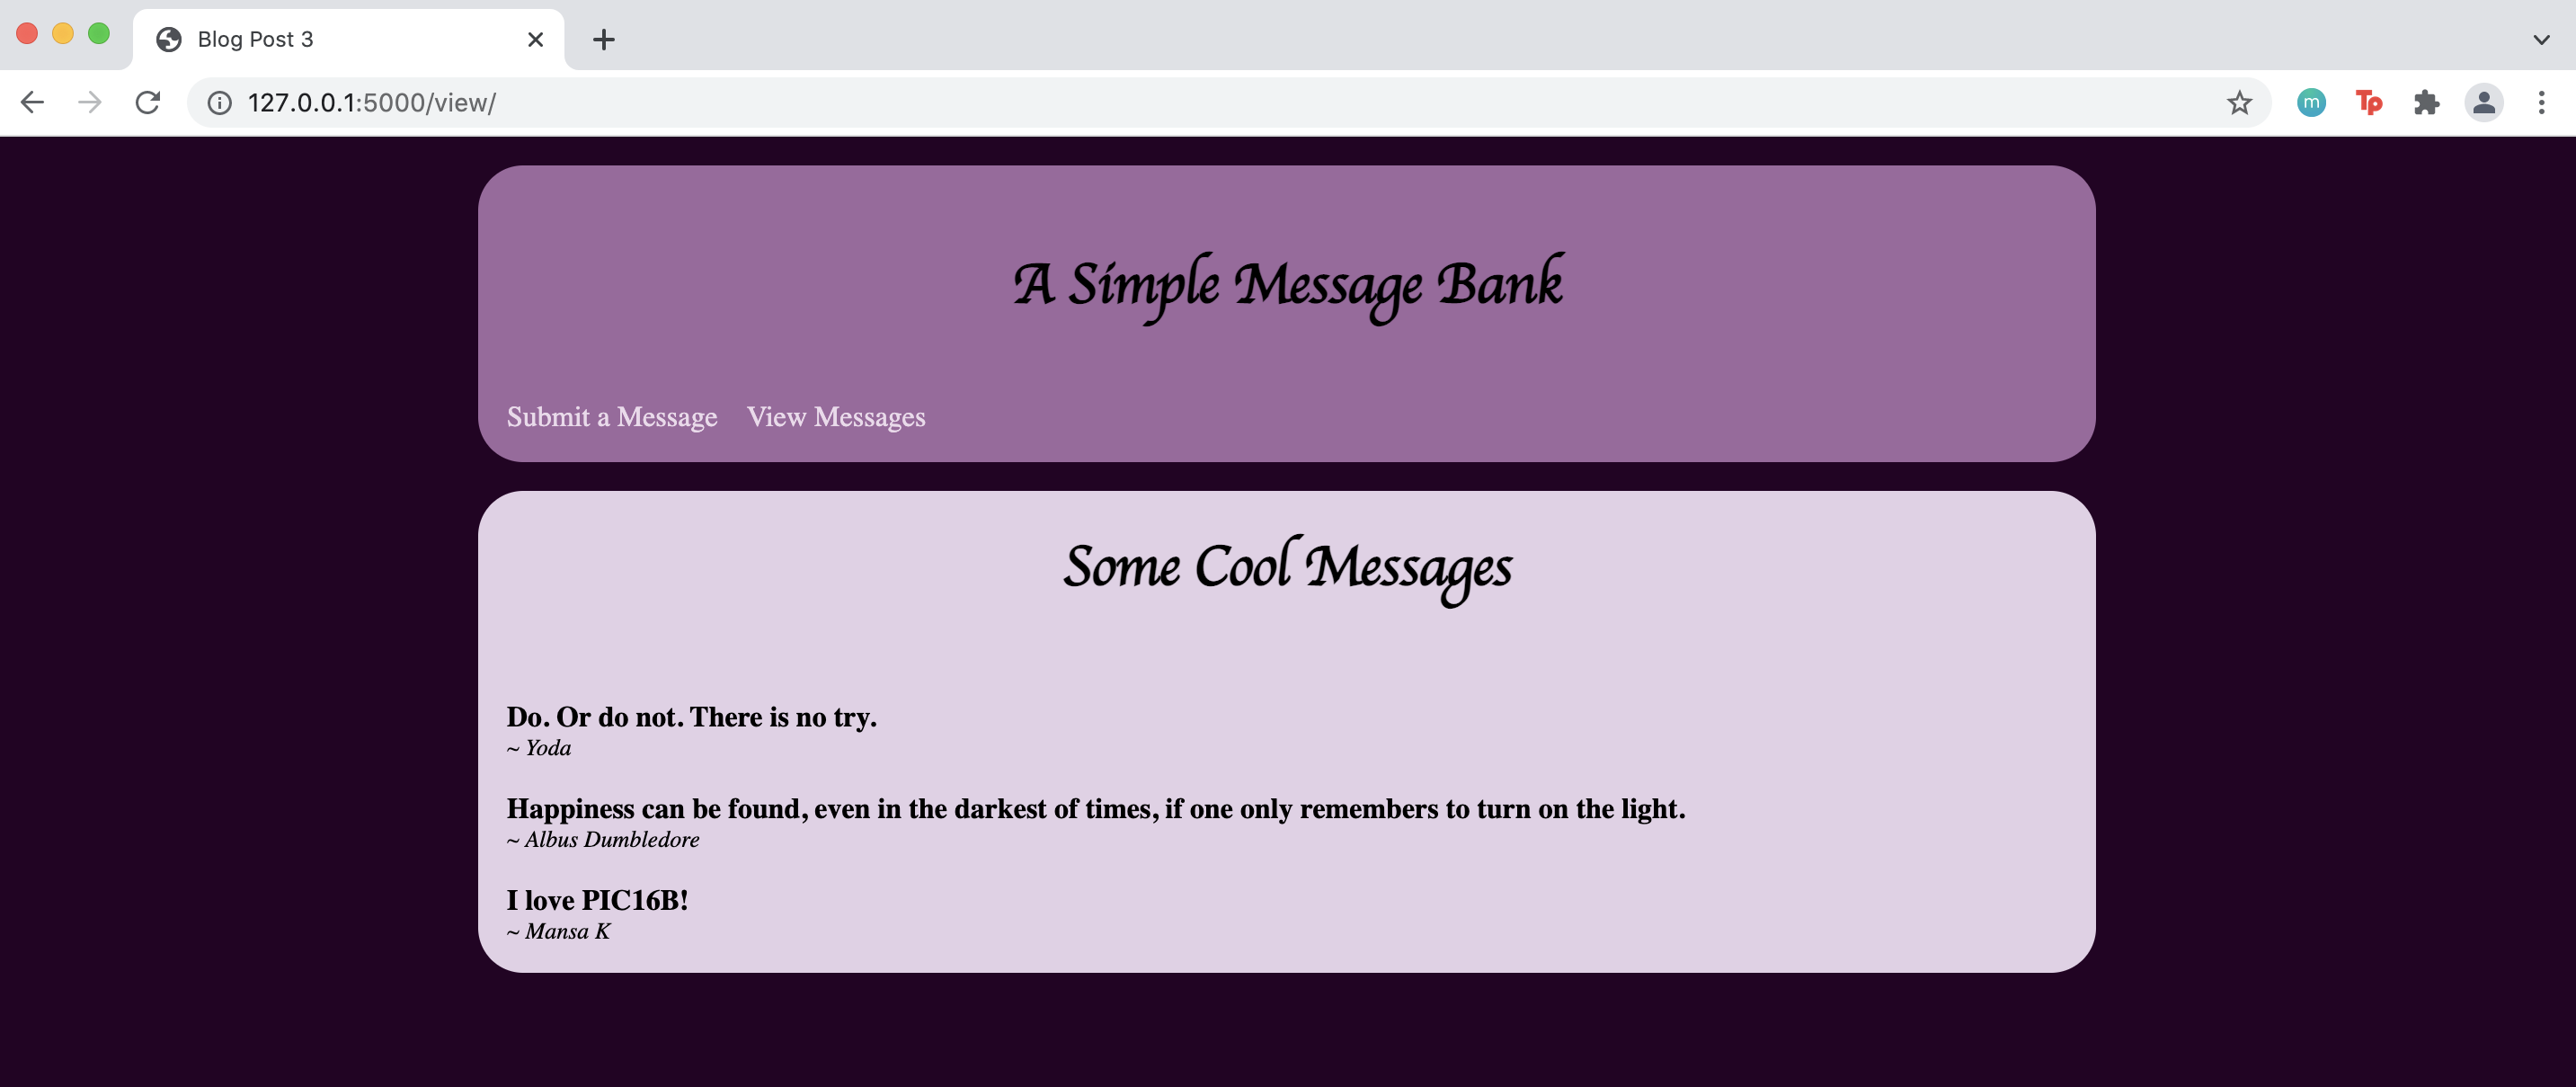
Finally, my view page looks like this. I’ve only chosen to display three randomly chosen messages from the message bank - you can have more messages displayed if you like. Notice that the message I recently submitted to the message bank (shown in the previous image) is displayed on my view page!
As far as this particular project was concerned, I definitely learned how to code iteratively - I constantly had to check and recheck my work (on the web browser using flask) to make sure I was on the right track. I definitely ran into a couple of weird bugs that I had to work through. A lesson learned is to definitely not try and code everything at once - you need to do it iteratively otherwise there is a good chance it won’t turn out right!
Feel free to visit this link to the GitHub repository containing the full, detailed code of this webapp.
